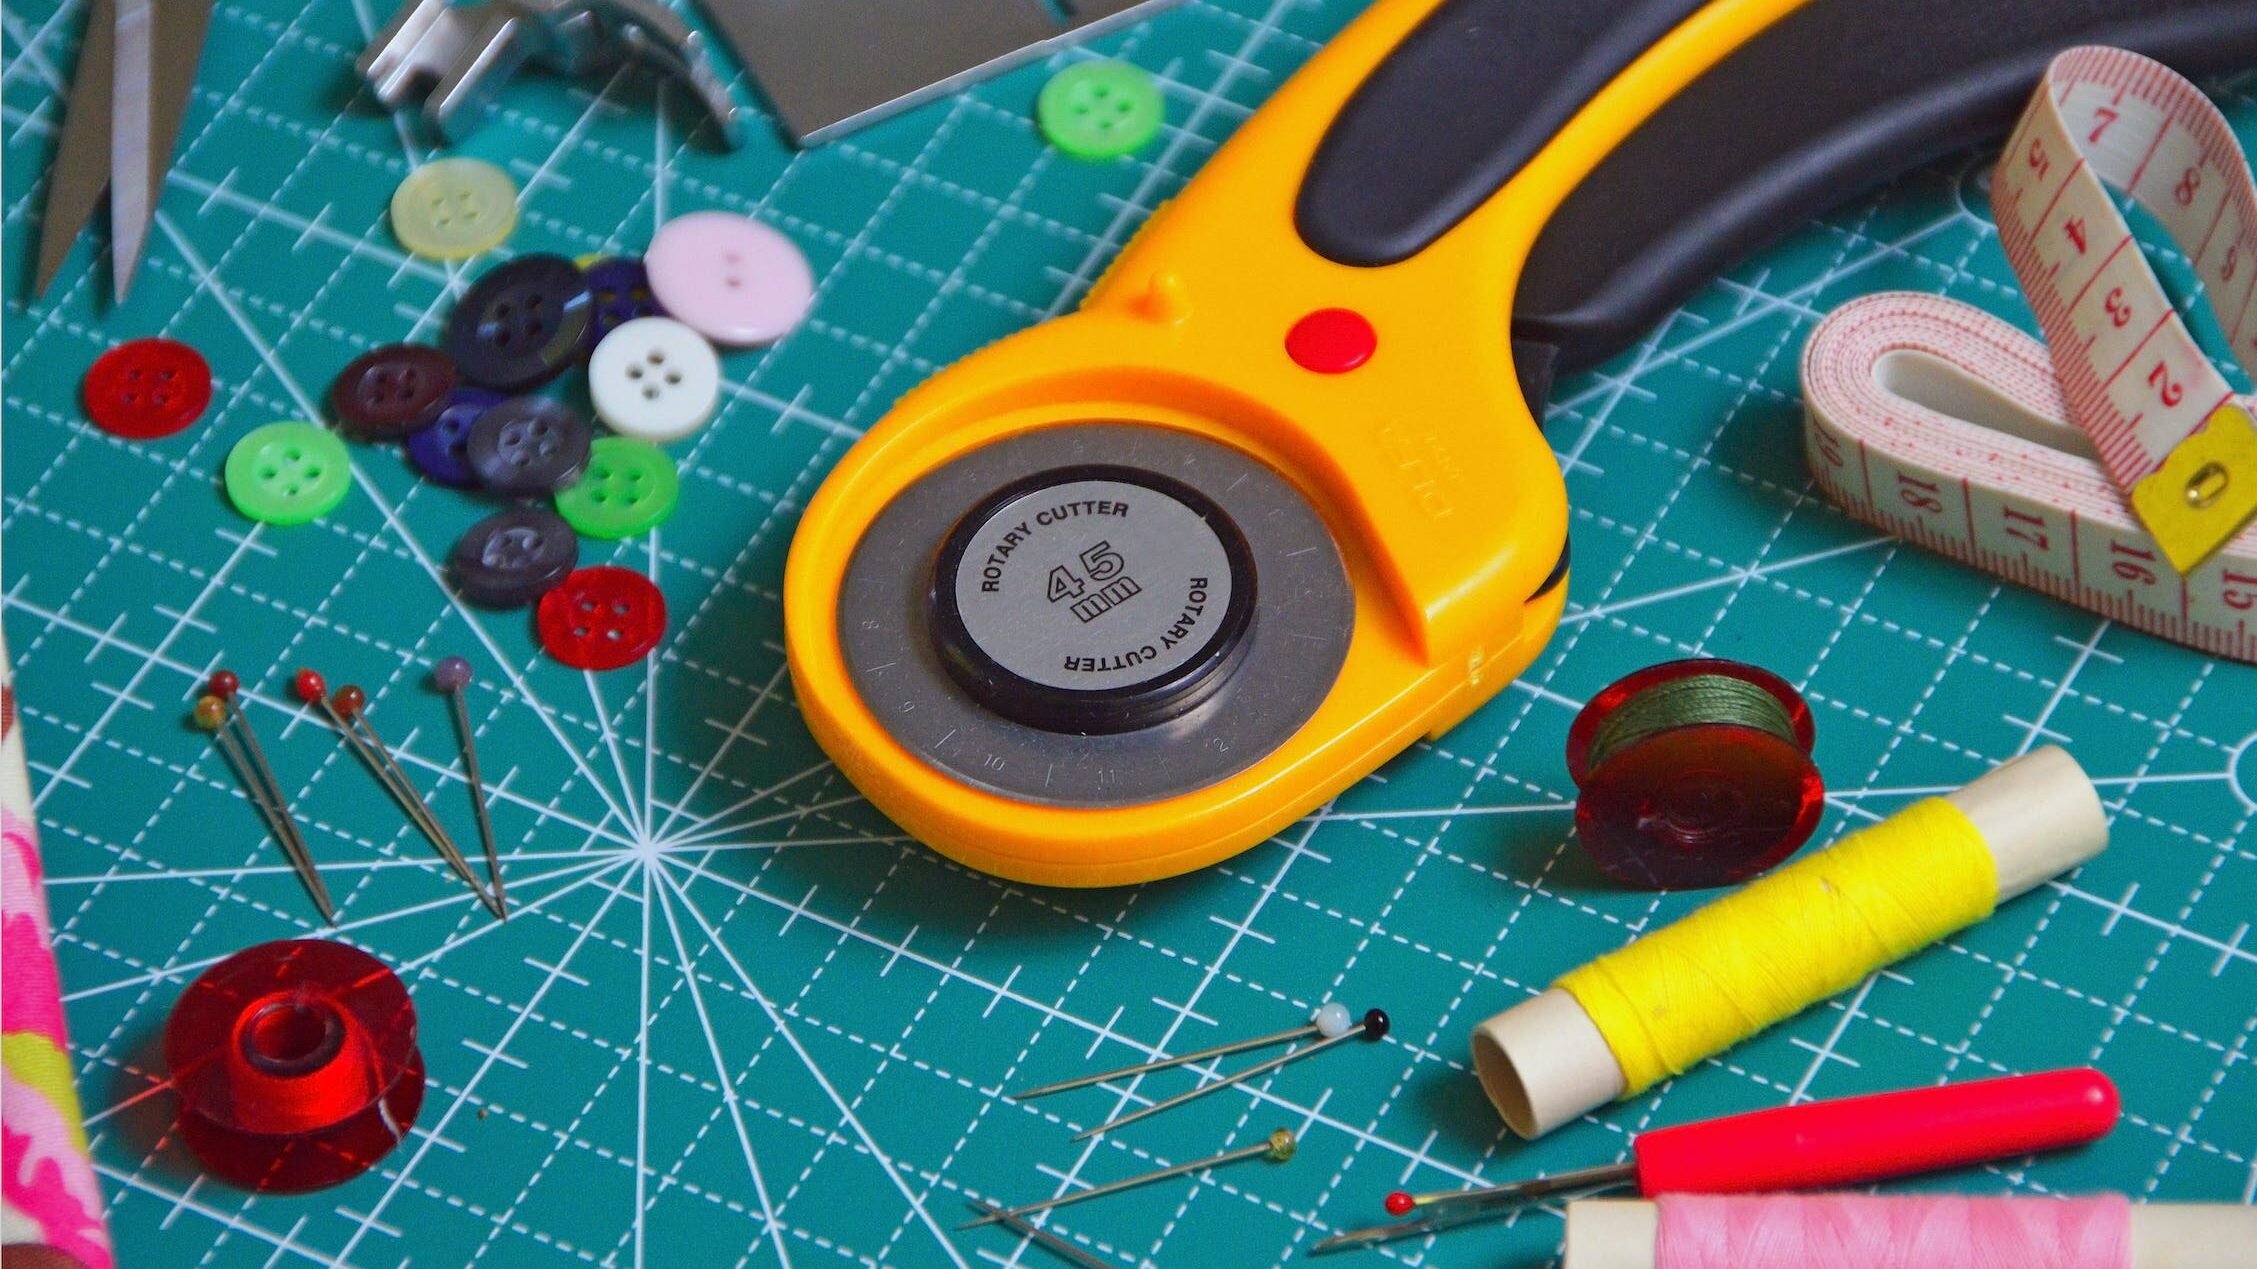
As promised in my last post (though incredibly delayed), I picked up hand sewing! Hand sewing, as I’ve found, honestly doesn’t require much to get started, both from a tool and a skill perspective. It’s also incredibly cheap – I picked up this sewing kit from Michaels for only $4 and found some leftover fabric packing material to cut into squares for practice material. If you’re looking to add a bit of flair to your practice materials, you can easily use old clothes instead or look on Facebook Marketplace for cheap fabric scraps. Today, I’ll be covering the key sewing tools and skills I needed to stitch myself a dust cover for my remote.
Tools Needed
The core tools you need are:
- A needle – The pointy thing you’ll be using to poke through your fabric that carries your thread. The eye of the needle is the hole at the opposite side of the pointy end that thread goes through. Fabrics of different thicknesses/weights will require needles of different sizes.
- Thread – A type of yarn used to join fabric together
- Fabric – Cloth or other material created by weaving fibers together. The characteristics of your finished product will depend largely on the type of fabric used, from breathability, texture, stretchiness, durability, weather resistance, etc.
There are also some additional tools that will make your life easier:
- Needle threader – Trying to poke thread through the eye of a needle can be incredibly frustrating, so that’s where a needle threader comes in. More on how to use one down below.
- Scissors / thread cutter – To sew properly, you’ll need to cut your thread to length. If your thread is thin enough, you could potentially use some keys to cut it to length or even use your teeth. But…just get some scissors.
- As an FYI, the scissors included in the essentials kit I linked above are small enough for transportation, but they SUCK. Seriously. My cat did a better job of biting through the thread than the scissors did.
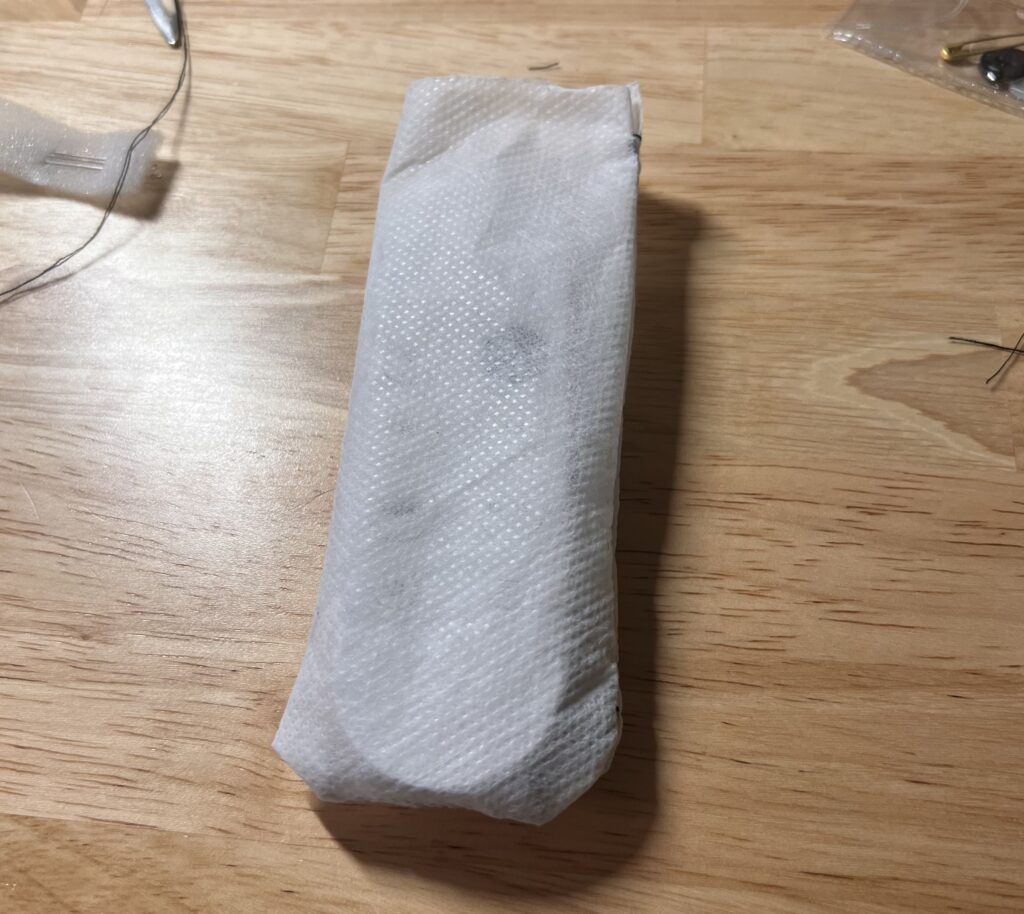
Once you have the stuff above ready to go – congrats! You’re ready to get started. To help you better understand what you’ll need to practice, I’ll walk you through my first “project”, the aforementioned remote dust cover (pictured below). I’m assuming you couldn’t care less about making one of these, so I’ll focus more so on the challenges I ran into since I started this project with zero prior experience.
Cutting Thread to Length
To start, cut off a length of thread. Most people recommend cutting about 12 – 18” of thread to use. Anything longer will result in more wear on your thread and an increased possibility that your thread will get tangled. Don’t worry if you run out of thread – you can always restart a stitch with a new strand of thread.
Threading the Needle
Once you have your thread cut and ready to go, it’s time to attach the thread to the needle. You have two real options here: poking the thread directly through the eye of the needle, or relying on the needle threader to help you out.
With the first approach, the best tip I can provide is to wet the end of the thread, the end you’ll be inserting through the needle, with your mouth. The thread is made up of several smaller strands that are prone to splitting apart, so wetting it just helps keep those strands from bumping up against the edges of the eye and helps you put it through. While simple, this process can still be somewhat frustrating for beginners or those with poor vision, which is where a needle threader comes in.
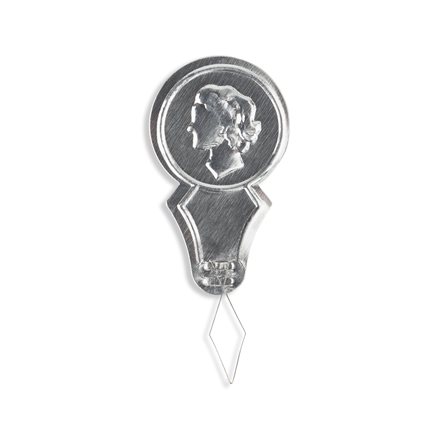
To use a needle threader:
- Insert the flexible diamond-shaped portion through the eye of the needle.
- Put a length of thread part of the way through the diamond portion that should now be on the other side of the eye.
- Pull the needle threader back through the eye, which, if done correctly, should also bring your thread through the needle.
Once the end of your thread is in, pull half of the thread through so that both ends of the thread line up next to each other when folded.
Securing the Thread
Once you’ve threaded your needle, you now need to secure your thread so that it doesn’t slip back out while you sew. There are a few techniques you can use, but in essence, you’re simply tying a knot at the end of your thread that not only keeps your thread on your needle, but also holds your thread in place in the fabric as you start a stitch.
The technique I personally used came from this video:
If you’re right-handed:
- Hold the needle between your right thumb and index finger and the thread between your left thumb and index finger
- Pull the thread through your left hand until you’re holding the ends of the thread.
- Place the eye of the needle also between your left thumb and index finger.
- Grab the thread closest to the end of the thread and wind it around the needle three times.
- Close your left thumb and index finger around the wound thread.
- While continuing to hold onto the wound thread with your left hand, pull the needle out of your left hand until the knot forms at the end of the thread.
If you’re left-handed, just use the opposite hand for everything.
Starting a Stitch
Before starting a stitch, there are a few considerations and decisions to be made, the first of which is about fabric presentation. Fabric usually has a “right” side (the side you want to display) and a “wrong” side (the side you DON’T want to display). If you want your needlework exposed, you’ll position the fabric such that the “right” side of your pieces are facing outward. If you want your needlework exposed, you’ll position the fabric such that the “wrong” side of your pieces are facing outward. Once your stitch is complete (assuming there’s an opening left over), you’ll turn your piece inside out, effectively hiding the hems.
There are a bunch of different stitches, but for simplicity’s sake, I’ll just cover the easiest: the running stitch.
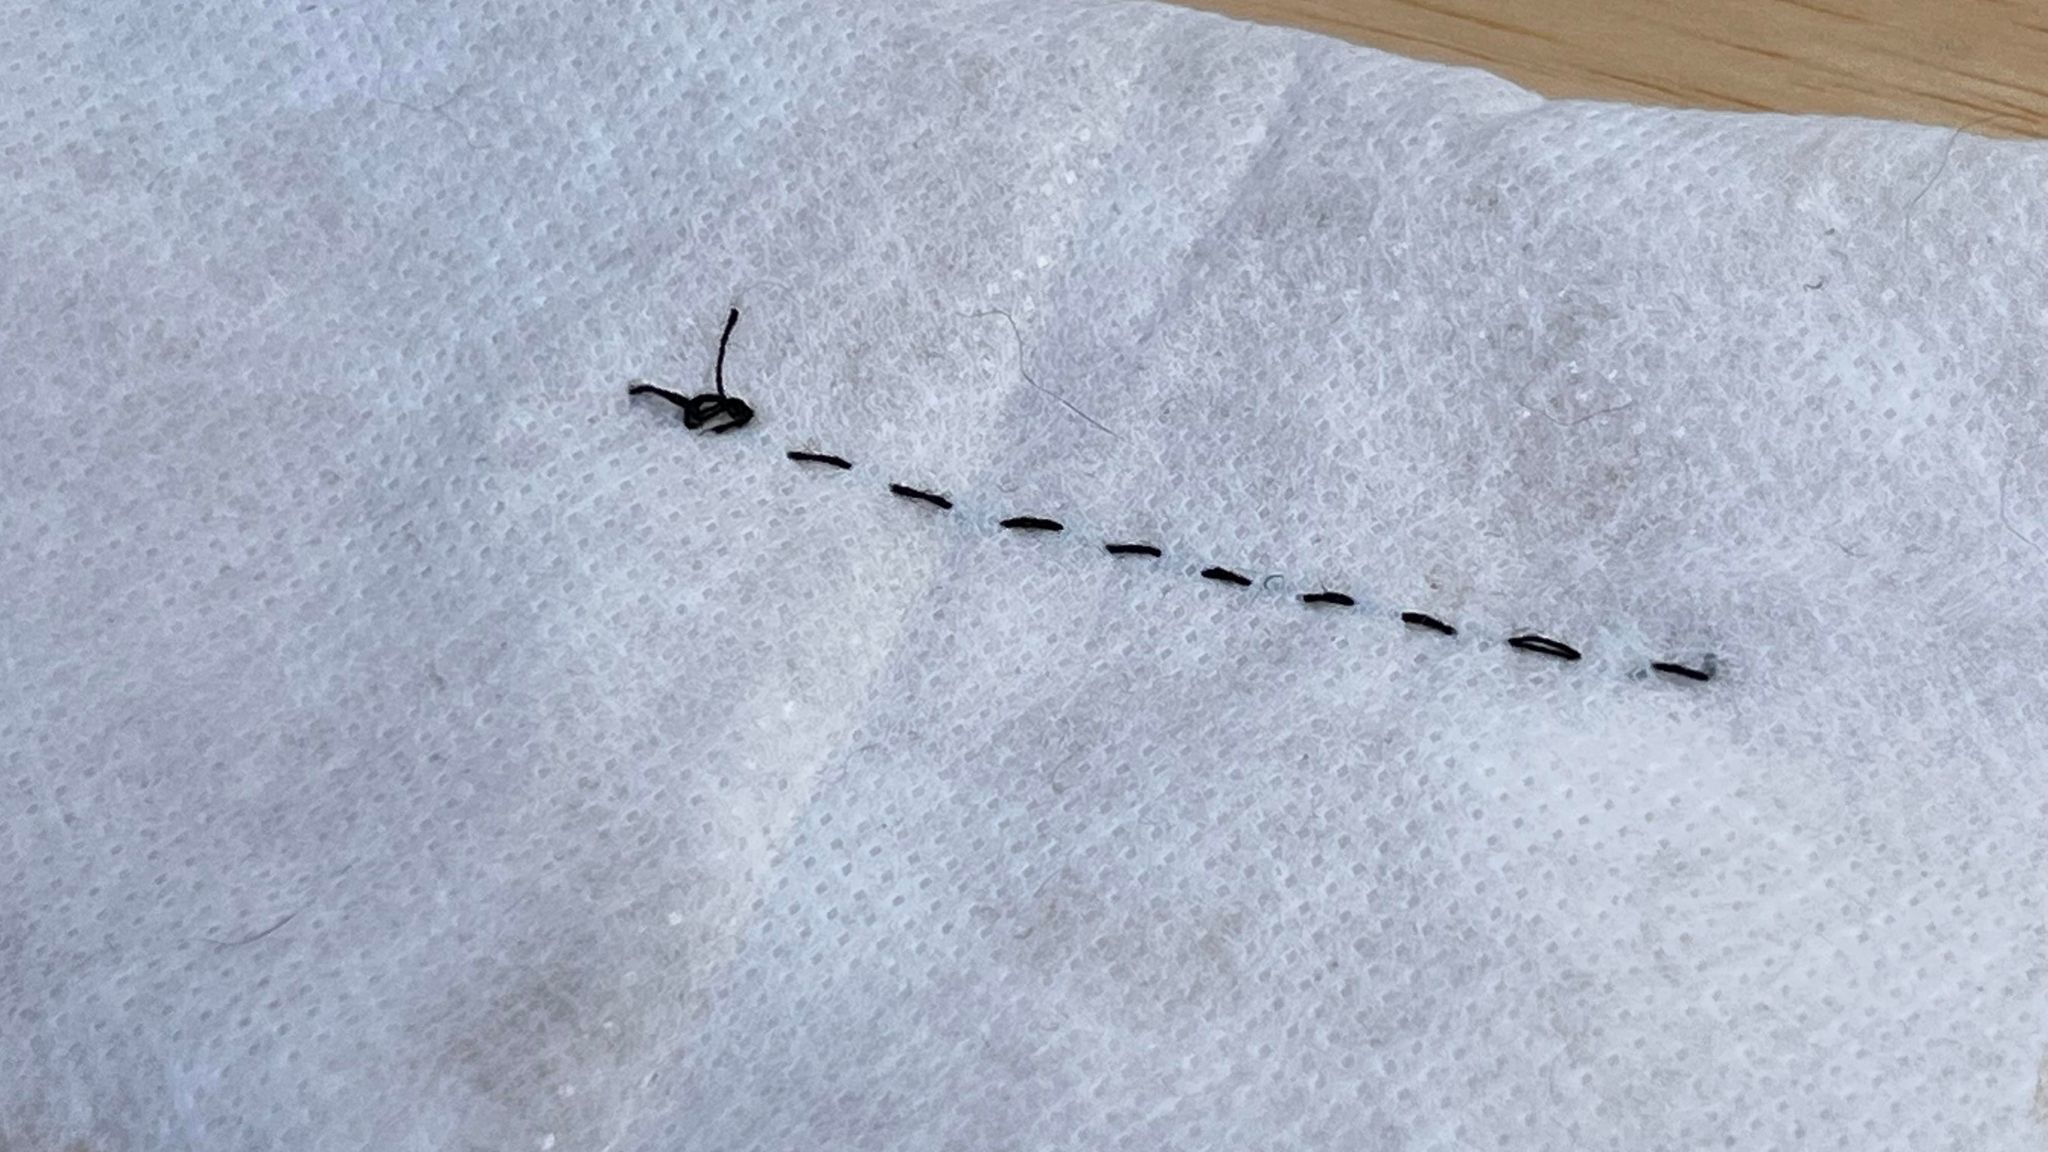
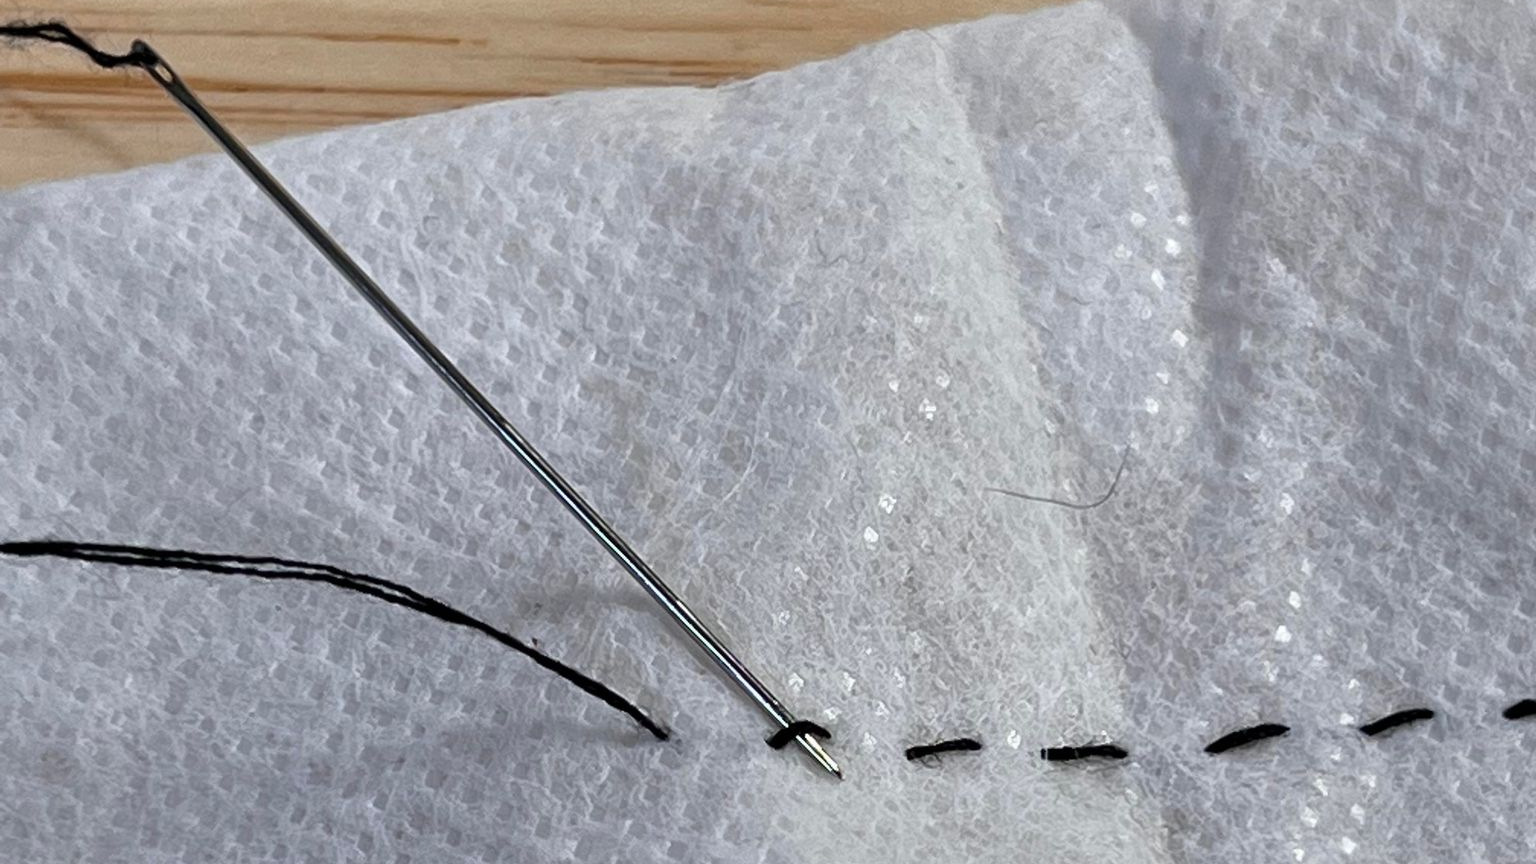
- Poke your needle through both pieces of fabric and pull the thread until you hit the knot at the end.
- You’ll want to leave about a 1/8 inch (3 mm) gap between the edge of your fabric and where you start your thread.
- Now, poke your needle through from the other side of your fabric, about 1/4 inch (6 mm) from where you started, and pull the rest of the thread through. The closer your stitches, the stronger your seam will be and vice versa.
- Ensure that you’re not pulling the thread too tight – you don’t want to see your fabric beginning to bunch up, but you also don’t want your thread to be too loose and not sitting flush against your fabric.
- Repeat step 2 until you’ve hit the end of your seam or you’re close to running out of thread.
Finishing a Stitch
You want to ensure you have enough length on your thread for 2-3 more stitches. Once you’ve reached the end, you’ll want to tie a couple knots to ensure your seam doesn’t come loose.
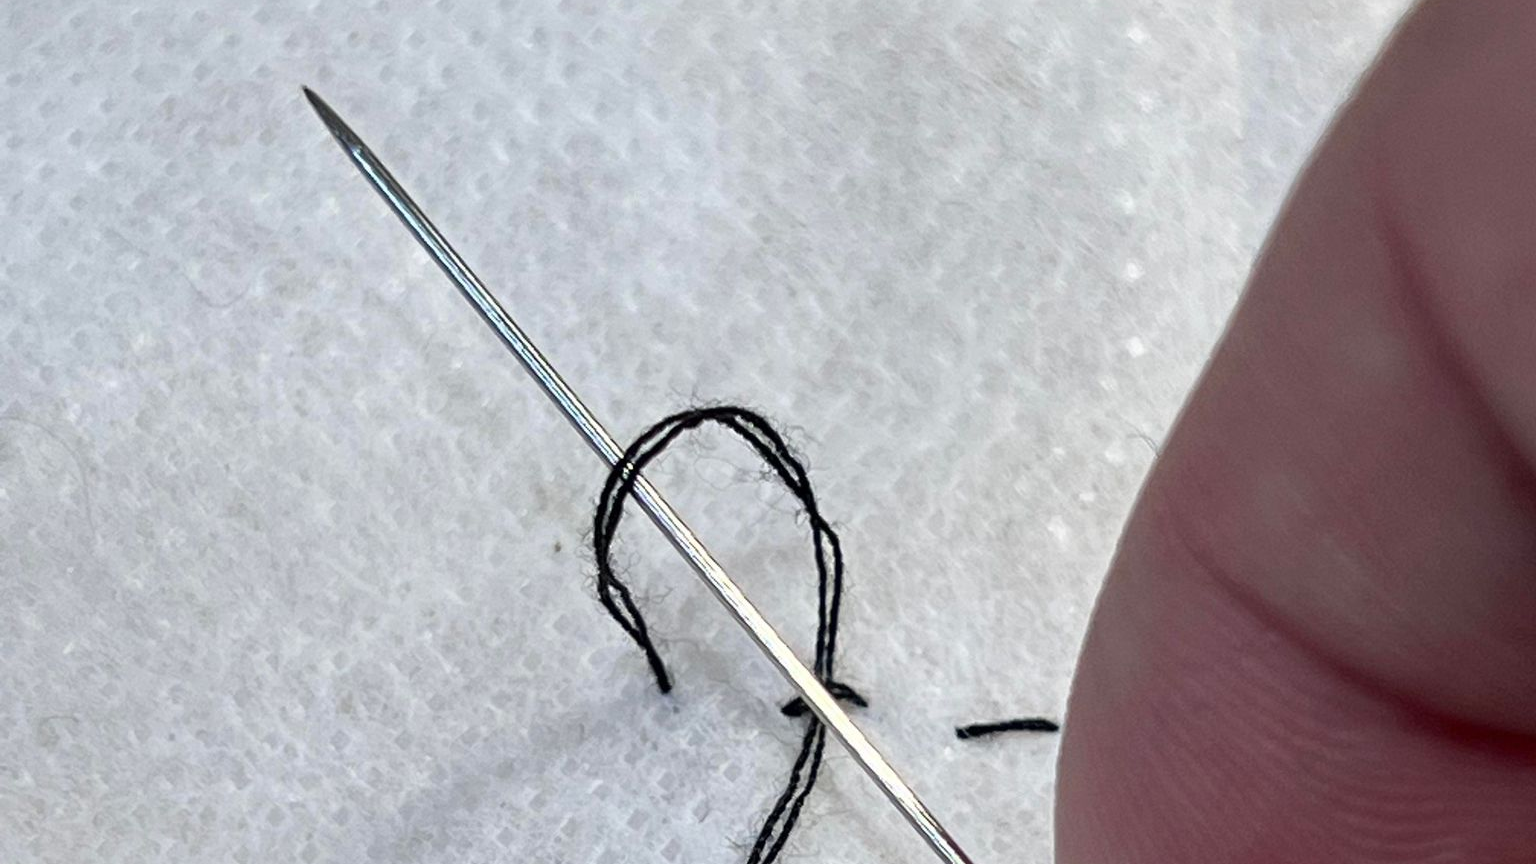
First, thread the point of your needle between the bottom of your last stitch and the fabric.
Pull the needle through until there’s a loop of thread above the fabric.
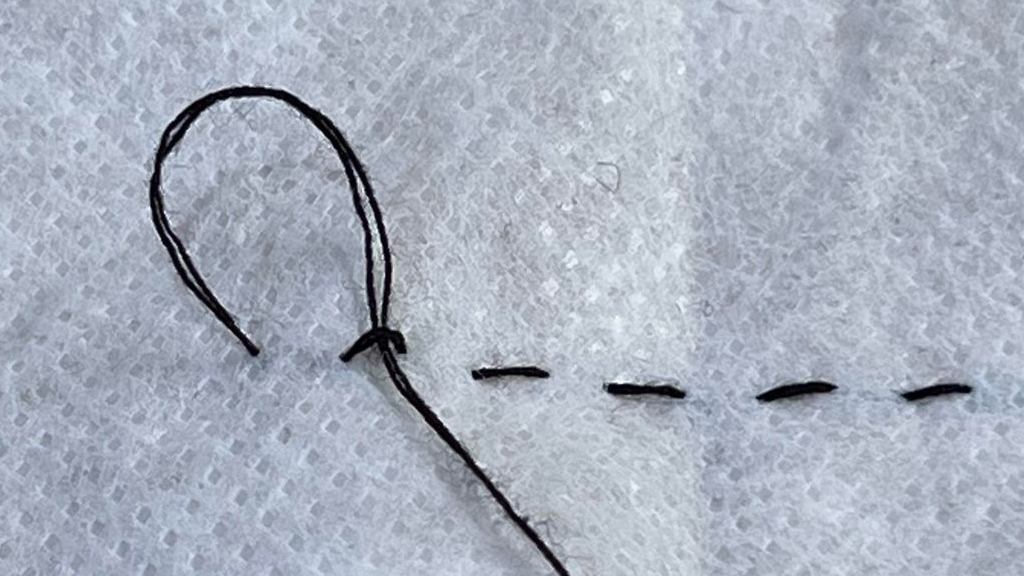
Insert your needle through the loop and pull taut to form a knot.
Repeat steps 1-3 to tie a second knot.
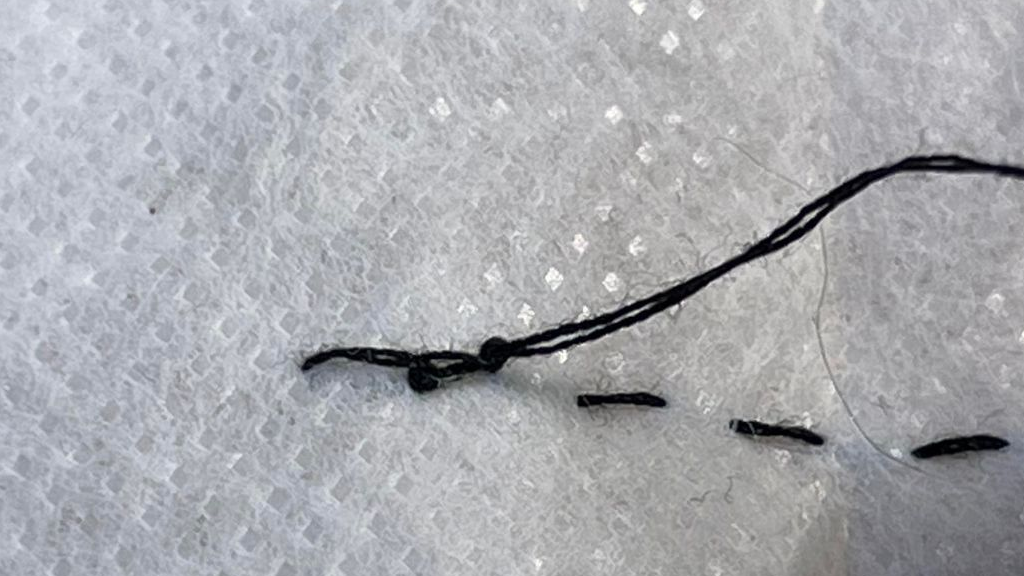
Cut any excess thread.
You Did It!
Congrats – you just learned the basics needed to join pieces of fabric! There’s still a lot more to learn and refine, of course, but you can repeat those steps as many times as needed to complete your piece. The key skill is keeping stitches straight and consistent, which you can practice by drawing a line with fabric chalk with the help of a straightedge.
Thoughts & What’s Next
Overall, I enjoyed the process. It was kind of frustrating getting started since I had to do a bunch of Googling on the fly as I made my mistakes, but it was worth the effort. One of my cats scratched at my unprotected comforter and ripped a hole in it, but I felt a lot more confident about my ability to repair the damage after having learned this skill (the quality of the repair is another matter entirely).
Now that I’ve learned the basics, I want to try making these ugly cute Marimekko pillows. I have a ton of excess pillow stuffing that I need to use up, so these are perfect. Stay tuned for next week’s post! (I should be back on track with my post schedule; there were some annoying domain issues that took my blog down for more than a month, but those are thankfully now dealt with.)